If you’ve already created your wallet and received your first ZANO, you’re ready to make your first transaction.
Sending ZANO is simple and usually takes just a few moments. This guide explains every step in plain language so that anyone—even if you’re completely new to cryptocurrency—can follow along with confidence.
Before continuing, make sure your wallet contains some ZANO.
👉 If you haven’t received any ZANO yet, read our guide: How to Receive ZANO
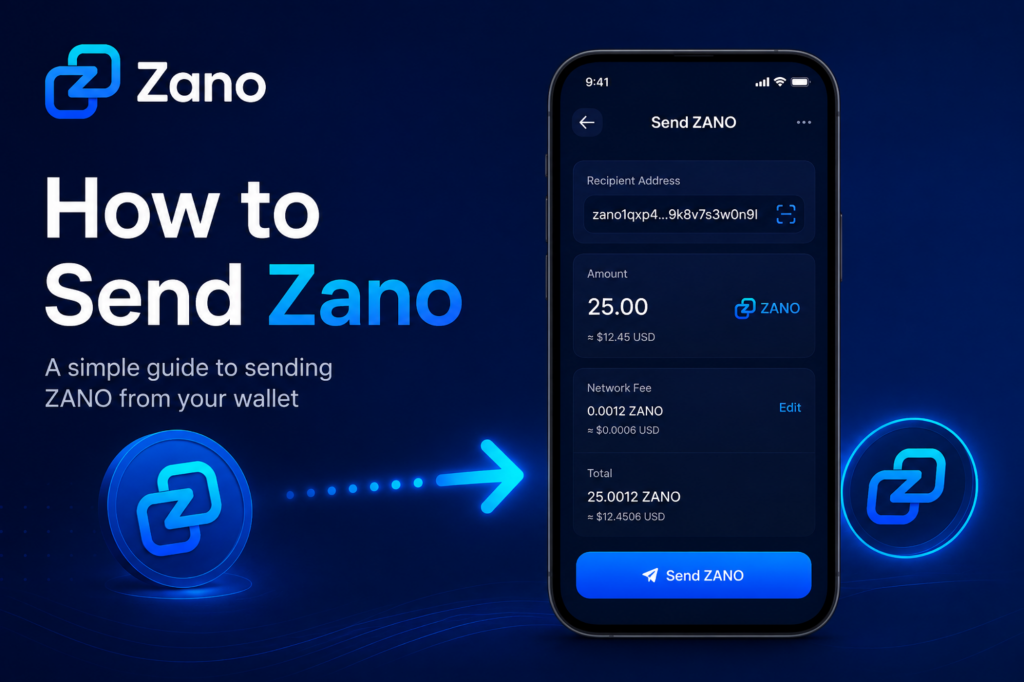
Table of Contents
- Before You Send ZANO
- Open Your Wallet
- Enter the Recipient’s Address
- Choose the Amount to Send
- Review the Transaction
- Confirm and Send
- Check Your Transaction
- Common Mistakes to Avoid
- Frequently Asked Questions
- Summary
- Sources
1. Before You Send ZANO
Before sending ZANO, make sure you have:
- A Zano Wallet with some ZANO available.
- The correct wallet address of the person you’re sending funds to.
- An internet connection.
Always double-check the wallet address before sending. Cryptocurrency transactions cannot usually be reversed.
2. Open Your Wallet
Open your Zano Wallet on your mobile phone or desktop computer.
From the main wallet screen, select the Send option.
You’ll be asked to enter:
- The recipient’s wallet address
- The amount of ZANO to send
3. Enter the Recipient’s Address
Ask the recipient to provide their Zano wallet address.
You can:
- Copy and paste the address.
- Scan a QR code if you’re using the mobile wallet.
Always check that the first and last few characters match the address you were given before sending.
4. Choose the Amount to Send
Enter the amount of ZANO you’d like to send.
For example:
- 1 ZANO
- 10 ZANO
- 25.5 ZANO
Your wallet will also show the network fee before you confirm the transaction.
5. Review the Transaction
Before sending, carefully review:
- Recipient’s wallet address
- Amount you’re sending
- Network fee
Taking a few extra seconds here can help prevent mistakes.
6. Confirm and Send
If everything looks correct:
- Tap or click Send.
- Confirm the transaction if prompted.
- Wait a few moments while the transaction is processed.
Once confirmed, your wallet will show that the transaction has been sent.
7. Check Your Transaction
After sending, you can view the transaction in your wallet’s transaction history.
You should see:
- Amount sent
- Recipient address
- Date and time
- Confirmation status
- Transaction ID (Hash)
The recipient will normally receive the funds once the transaction has been confirmed by the network.
8. Common Mistakes to Avoid
Here are a few simple tips:
- Double-check the wallet address before sending.
- Never send more than you intended.
- Make sure you have enough ZANO to cover the network fee.
- Never share your wallet’s recovery seed or private keys.
9. Frequently Asked Questions
Can I cancel a transaction after sending?
No. Once a transaction has been confirmed on the blockchain, it cannot normally be reversed.
What if I send ZANO to the wrong address?
Unfortunately, cryptocurrency transactions are generally irreversible. Always verify the address before confirming.
Is there a fee for sending ZANO?
Yes. Like most blockchains, Zano charges a small network fee to process transactions.
10. Summary
Sending ZANO is straightforward once you’ve used your wallet a few times.
Remember these simple steps:
- Open your wallet.
- Enter the recipient’s address.
- Choose the amount.
- Review the details.
- Confirm the transaction.
Taking a few extra moments to check the address and amount can help ensure your transaction is completed safely.
11. Sources
Disclaimer: ZanoNews.com is an independent news and information website. This article is for informational purposes only and should not be considered financial, investment, or legal advice.